How to create multi websites server in vps Digital Ocean
April 04, 2021
If you do not have an account, you can register an account through the ref link <3. If you have already , continue down the steps below.
Step 1: Create new droplet
Setup SSH
Dashboard -> Account -> Security -> SSH Keys
Or open this Link
Click ‘Add SSH Keys’
(google if you dont know what is this :D)
Create a Droplet
Click ‘Create’ > ‘Droplets’
Select the cheapest package is enough:
- Distribution: Ubuntu
Choose a plan
- Starter - Standard: $0.007/hour
- Choose a datacenter region: any region you, should near your location.
- Select additional option: SSH Keys
- Select Project: any project
- Choose a hostname: test-server-ubuntu
Click ‘Create Droplet’ Button.
You will got the result like this image:

Step 2: Setup theme for your Terminal.
This step is not necessary, but if you do it, it will be more intuitive, making it easier for you to follow these steps.
‘165.227.194.244’ is my server, replace with your Ip server.
Login to the server
~ ssh root@165.227.194.244You will get the the message like this
The authenticity of host '165.227.194.244 (165.227.194.244)' can't be established.
ECDSA key fingerprint is SHA256:4XWJdydZwrkfp5IuQ7/9Ic6HDZjtWdYqaGVGcr0gRk0.
Are you sure you want to continue connecting (yes/no/[fingerprint])? yes
Warning: Permanently added '165.227.194.244' (ECDSA) to the list of known hosts.
Welcome to Ubuntu 18.04.3 LTS (GNU/Linux 4.15.0-66-generic x86_64)
At the server:
~ vi ~/.bashrcPress ‘i’ for insert, Esc -> :w -> Save the file. Esc -> :q -> Quit the Vi Editor
- Copy the below line and add it at the end of .bashrc file:
PS1='\[\033[1;36m\]\u\[\033[1;31m\]@\[\033[1;32m\]\h:\[\033[1;35m\]\w\[\033[1;31m\]\$\[\033[0m\] 'Exit & Login again to see the effect.
~ exit~ ssh root@165.227.194.244Step 3 Install Apache
If this step you got error, you can read at More detail
~ sudo apt update
~ sudo apt install apache2
Check the version
~ apache2 -versionCheck status of Apache
~ sudo systemctl status apache2Check IP
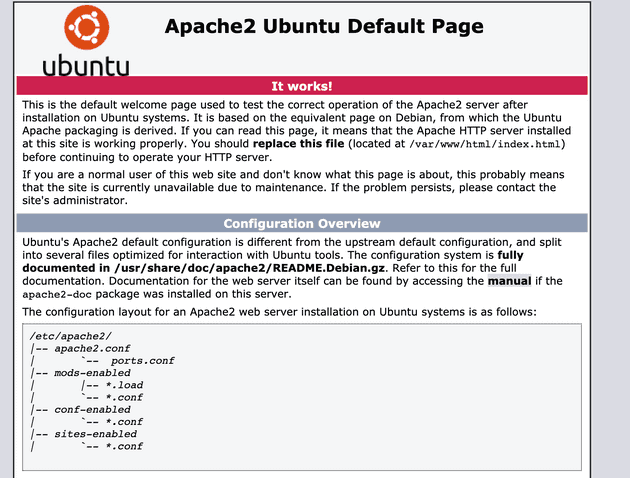
~ hostname -IVerifying that the Apache server is working properly. (Replace with your IP) http://165.227.194.244
Step 4: Install PHP 7.2
~ sudo apt install php libapache2-mod-phpTesting PHP: Edit the file info.php
vi /var/www/html/info.phpWith this content:
<?php
phpinfo();
View the content:
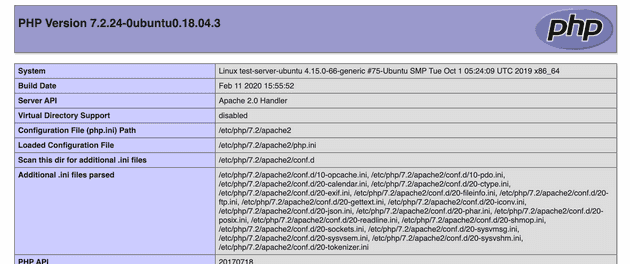
cat /var/www/html/info.phpVerifing that the PHP works:
http://165.227.194.244/info.php
Step 5 Install MySQL
Install mysql:
~ sudo apt install mysql-serverVerifing mysql:
~ sudo systemctl status mysqlPress ‘q’ to quit
Securing Mysql:
sudo mysql_secure_installation=> Setup root password: 0 = LOW username: root password: your_root_pass
I choose ‘yes’ for all the questions
Verifing: Try to login and show database
~/sudo mysqlmysql> show databases;
mysql> exit;Step 6: Enable mysql to apache
Install mysql lib:
~ apt-get update
~ apt-get install php7.2-mysql
~ apt-get install php-mysql
Verifing:
~ apt-cache search mysql
Restart apache
systemctl restart apache2.service
STEP 7: Install PHPMyAdmin
Install:
$ sudo apt-get update
$ sudo apt-get install phpmyadmin php-mbstring php-gettext
=> Select: apache2 > OK => Yes (Configure db for phpmyadmin)
Configure db for phpmyadmin with: ‘yes’
Write down your password: your_password (username:phpmyadmin)
Config FOR phpmyadmin
Read more if you got bug.
~ sudo mysqlmysql> GRANT ALL PRIVILEGES ON *.* TO 'phpmyadmin'@'localhost' WITH GRANT OPTION;
mysql> FLUSH PRIVILEGES;Test http://165.227.194.244/phpmyadmin/ user: phpmyadmin pass: your_password
Create a test database: wp_example
More: (?)
$ sudo phpenmod mcrypt
$ sudo phpenmod mbstring
Step 8 : Add domain to droplet.
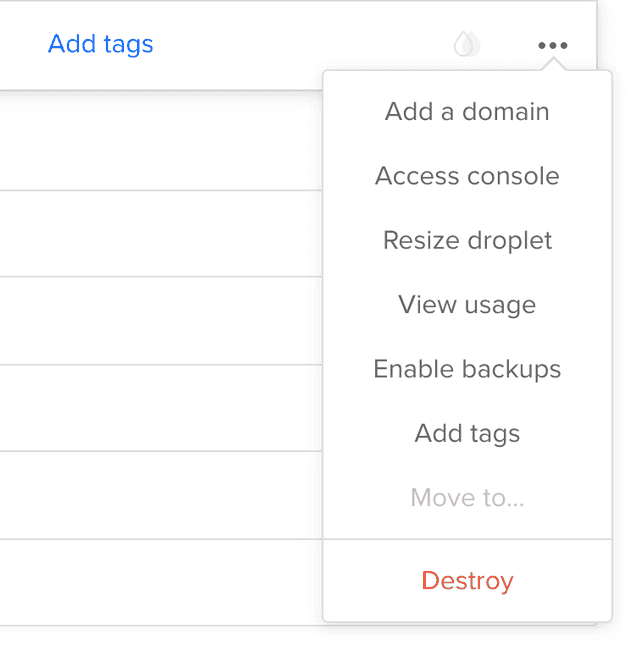
Follow this Link to add your domain to this droplet.
Add: example.com Wait for server hours and try: http://example.com
Step 9 : Install WordPress
If you dont need wordpress site. You can skip this step.
Download wordpress to server. Unzip it to public folder && grant permission for www-data
~ wget http://wordpress.org/latest.tar.gz
~ tar -xf ./latest.tar.gz
~ mv ./wordpress/*  /var/www/html/
~ cd /var/www/html && chown -R www-data:www-data ./ ./*
~ rm -rf /var/www/html/index.html
Open: http://165.227.194.244 To Install your website with the username & password above (phpmyadmin or root are also ok)
Step 10: Setup Ssl for your site
For more detail
Or:
~ sudo apt-get install certbot python-certbot-apache
~ sudo certbot --apache
Select (A) Select (Y) Type your domain name: your-domain.com Select: 2 - For Redirect …
Verifing: http://your-domain.com
Go to WordPress’s Admin panel > Setting: WordPress Address (URL): https://your-domain.com Site Address (URL):https://your-domain.com =>Click ‘Save changes’ Button
Verifing: http://your-domain.com
If this link is auto to redirect to https://your-domain.com, you are DONE.
Step 11: Setup the second site.
-
Add domain to droplet: theseconddomain.com
-
Change DNS to:
- ns1.digitalocean.com
- ns2.digitalocean.com
- Create the public folder & index file. Change the owner for it
Create the below folder:
/var/www/
|--theseconddomain.com
|   |__ public_html
vi /var/www/theseconddomain.com/public_html/index.html
Hello from theseconddomain.comcat /var/www/theseconddomain.com/public_html/index.htmlsudo chown -R www-data: /var/www/theseconddomain.com/public_html
Set config for apache:
vi /etc/apache2/sites-available/theseconddomain.com.confWith this content:
<VirtualHost *:80>
    ServerName theseconddomain.com
    ServerAlias www.theseconddomain.com
    ServerAdmin webmaster@theseconddomain.com
    DocumentRoot /var/www/theseconddomain.com/public_html

    <Directory /var/www/theseconddomain.com/public_html>
        Options -Indexes +FollowSymLinks
        AllowOverride All
    </Directory>

    ErrorLog ${APACHE_LOG_DIR}/theseconddomain.com-error.log
    CustomLog ${APACHE_LOG_DIR}/theseconddomain.com-access.log combined
</VirtualHost>
cat /etc/apache2/sites-available/theseconddomain.com.conf~ sudo a2ensite theseconddomain.com
~ systemctl reload apache2Enable Ssl for the site
(Same as above step)
~ sudo certbot --apacheSelect (A) Select (Y) Follow the instructions. Select: 2 - For Redirect …


